Q. What’s the deal?
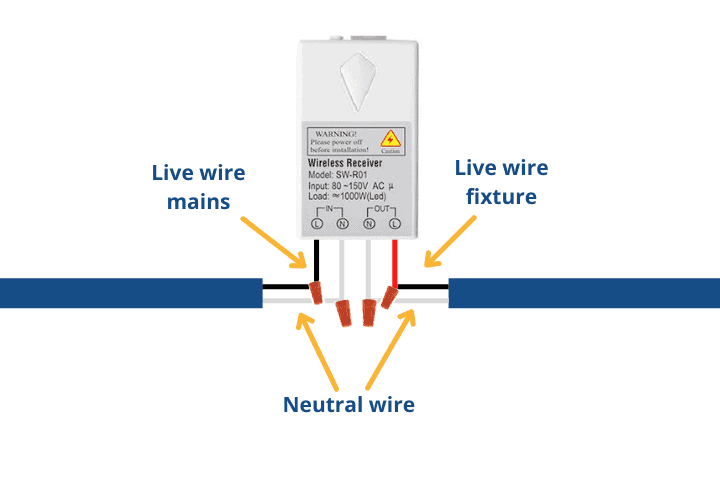
A. The magnetic coil is located inside the switch and is activated by the rocker. It creates enough energy to transmit a radio signal to its receiver. The receiver is wired to the light fixture and stored there. The receiver that is a plug-in module is simply plugged in to an outlet. The device it controls is then plugged into it.
Q. Is it possible to mix these wireless devices and my existing hardwire switches?
A: We don’t recommend mixing hard wired and wireless switches in the same circuit. If the hardwired switch is accidentally turned off, it could cause an open circuit or loss of power to the receiver. Customers will usually remove the hardwired switch from their receiver and simply bypass the wires to ensure that power is not interrupted. This is called powering in the “On” position. Other wireless light switches could be placed in the same area.
Q. Is it possible to install a 3- or 4-Way switch on this product?
A:Yes. These wireless switches can be used for both 3-way and 4-way switching applications. The ExR-R12BP-1 (RCM255), relay receiver allows you to set up and use as many switches as you like.
Q. What happens if I don’t have access to a light source?
A. If your existing light fixture is hardwired but you don’t have or wish to have access the ceiling outlet box, this could be the solution. Remove the hardwire switch, then install the receiver ExR-12BP-1 (RCM 255) in the location of the hardwired electrical switching box. To conceal the receiver, a blank cover plate can be used. You can install a wireless switch over the existing hardwire switch if you don’t like the functionality. Other wireless light switches could be placed in the same area.
Q. Is it possible to use these switches in multi-gang configurations?
A: Yes. You can use decorator-style switches in a gang configuration without or with back plates. These options are available:
Using back plates-
The switch will be 1 cm (or 3/8 the) away from the wall if it is used in gang configuration. The back plate will be sandwiched between switch cover plate and wall surface. Ad Hoc Electronics has 1-3 Gang Decorator Style Switches.
Without a back plate
You will need to drill a hole in your wall to allow the ExT-S1NWH to be used in an electrical switch box. The cover plate can be a standard one. A back plate is not recommended. A mud ring or mounting bracket is another option. It is easier to install a mudring in an existing wall than a standard nail-in container.
Q. Can you use more than three gang configurations?
A. If there are more than three gangs of switches, it is a good idea to use an electrical switch box (PTM257W) that can handle the desired ExT-S1NWHs. Use a standard Decorator cover plate with the right number of slots for a cover plate.
Q. Is it possible to use the light switch outside?
A: Yes. Wireless light switches can also be used outdoors. Wireless switches that are used outdoors can reach longer distances than those placed indoors. Use a weatherproof cover for these switches when they are placed outdoors. Weatherproof switch covers are available at most electrical stores.
Q. Are these devices safe to use around metal?
A: Yes. Wireless light switches and receivers are compatible with metal. The distance can be significantly reduced. Radio waves can be distorted or reflected by metal. We recommend using non-metallic electrical boxes or cover plates to maximize range.
Q Will interference activate my light?
A: No. Ad Hoc wireless light switches communicate with each other by sending an RF packet to the receiver. Each packet contains information specific to the light switch. The packets will not be sent by the same light switch.
Q. Is fluorescent lighting allowed?
A: Yes. Fluorescent lighting is compatible with our receiver. Fluorescent lighting can be a great way of reducing high wattage loads as well as energy costs. For information on the wattage ratings of various load types, refer to the users manual.
-
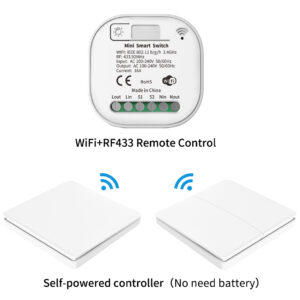
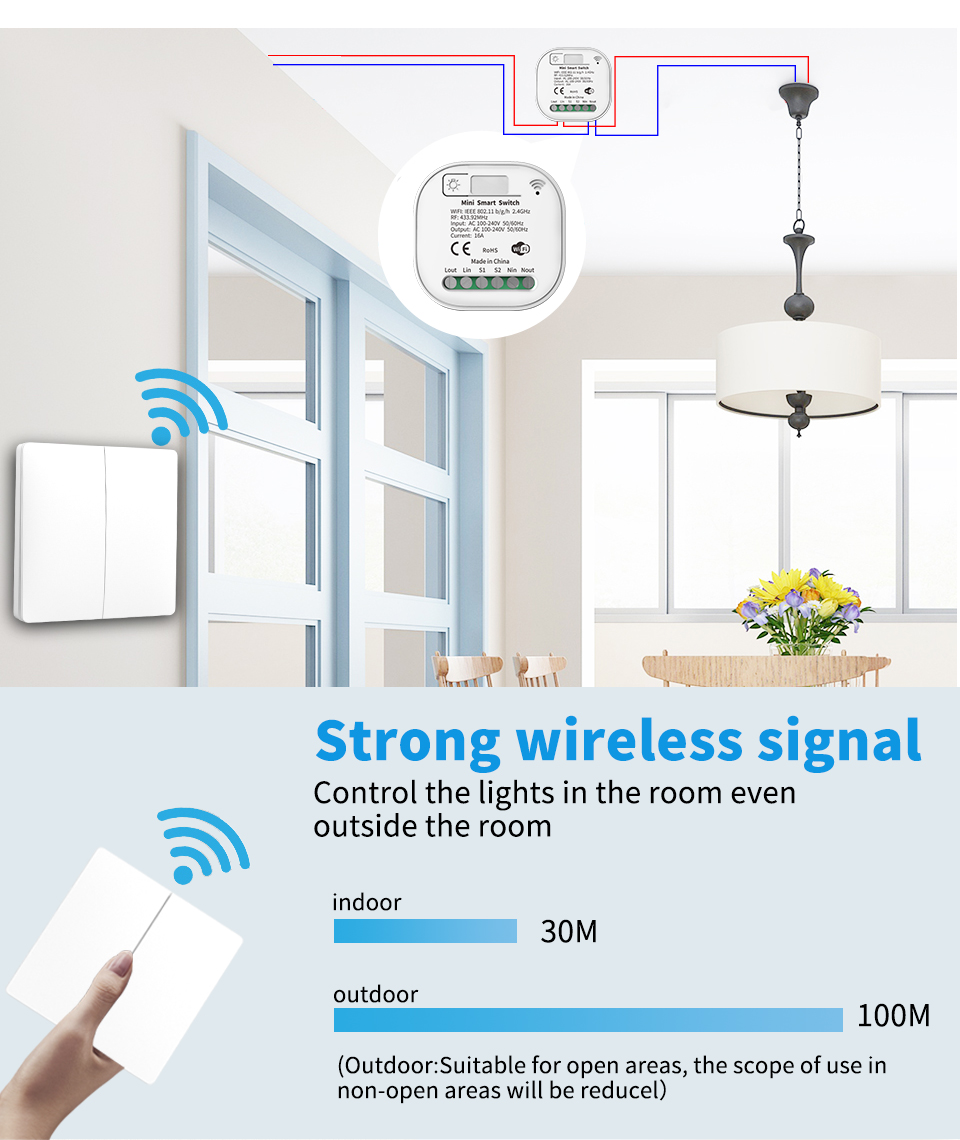
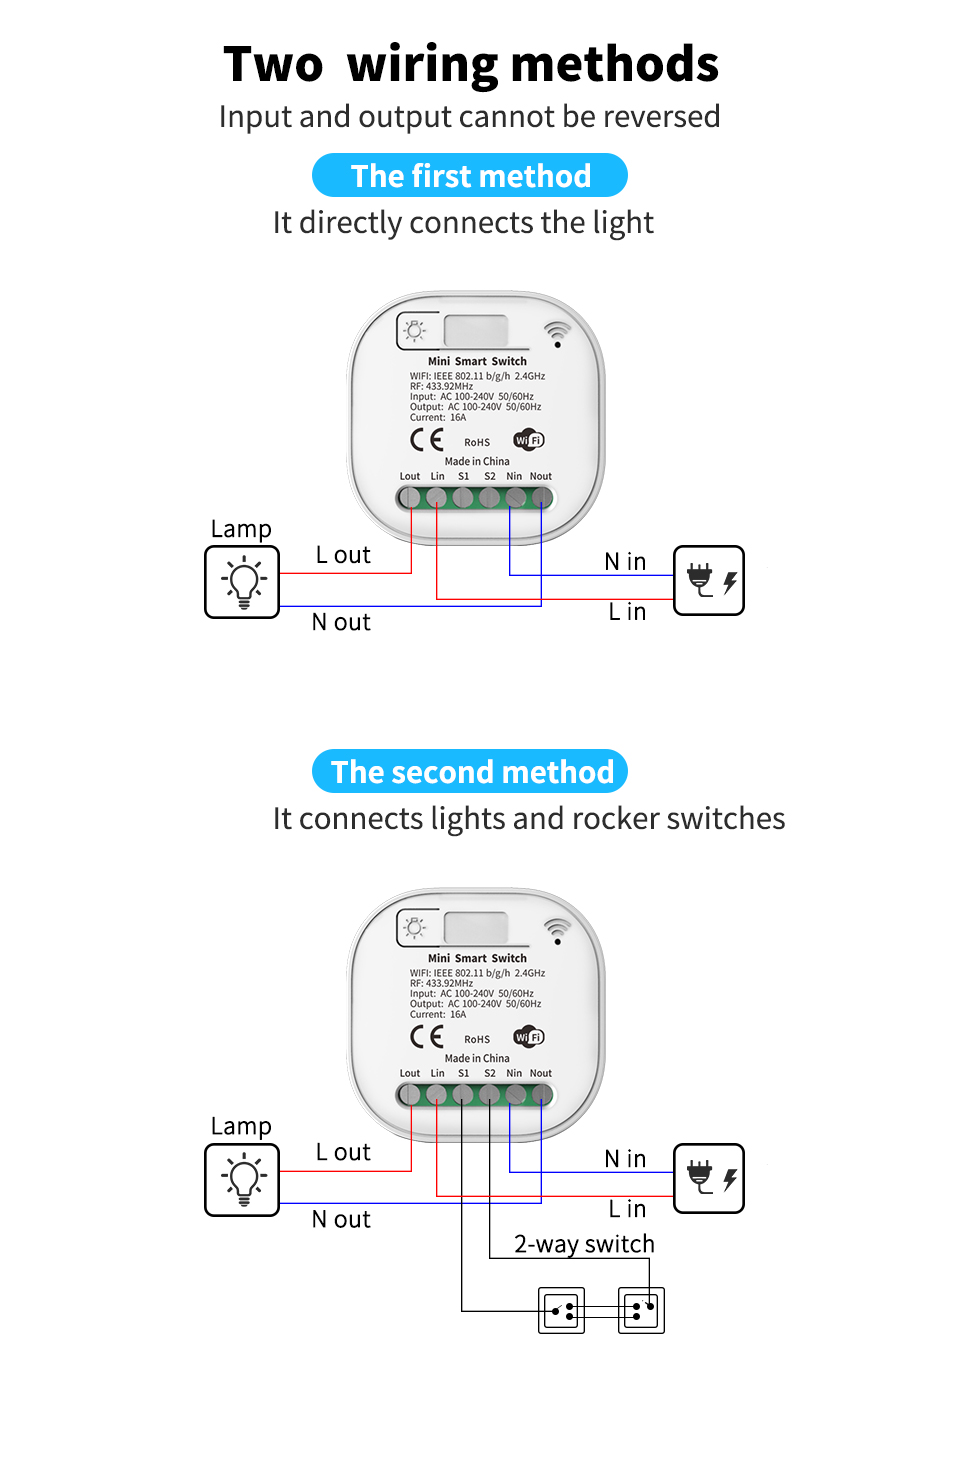
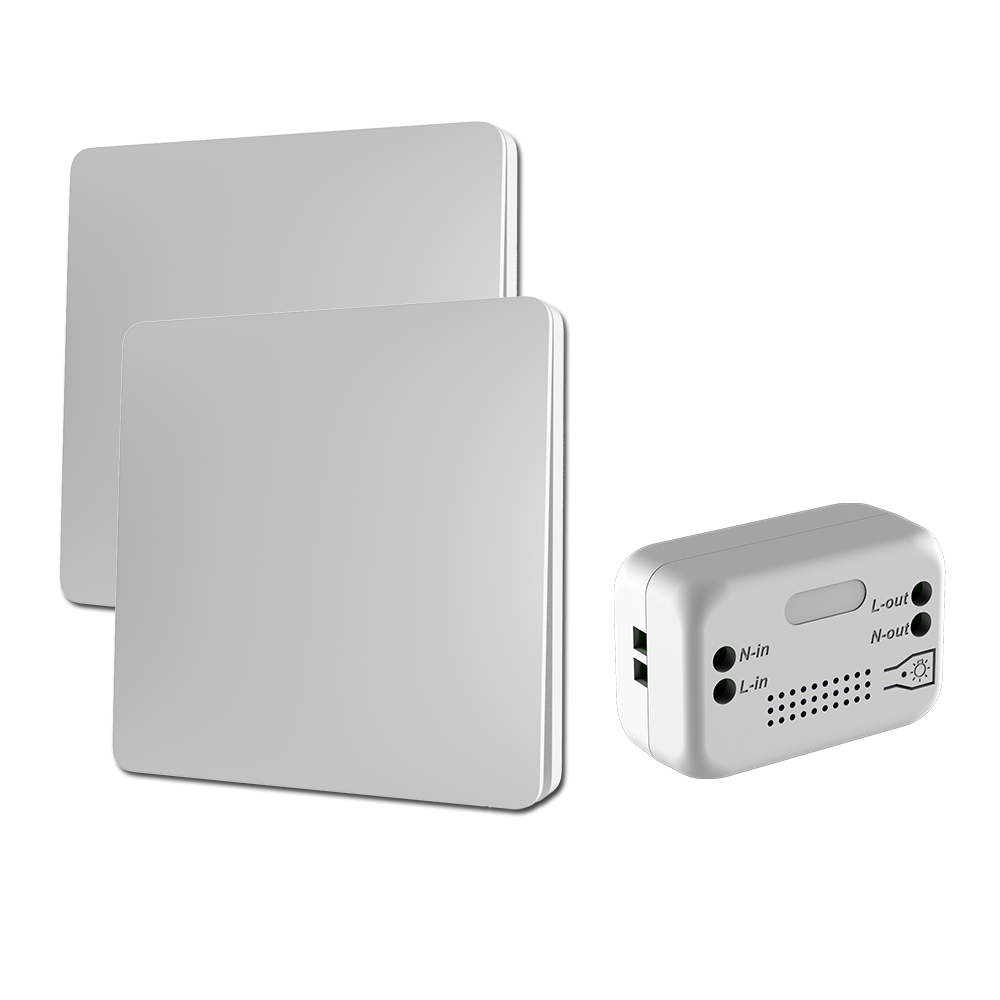
 WiFi+RF Self-powered no battery no power DIY Mini Smart Relay Switch Module, Alexa and Google Home
 -
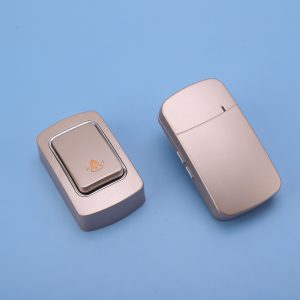
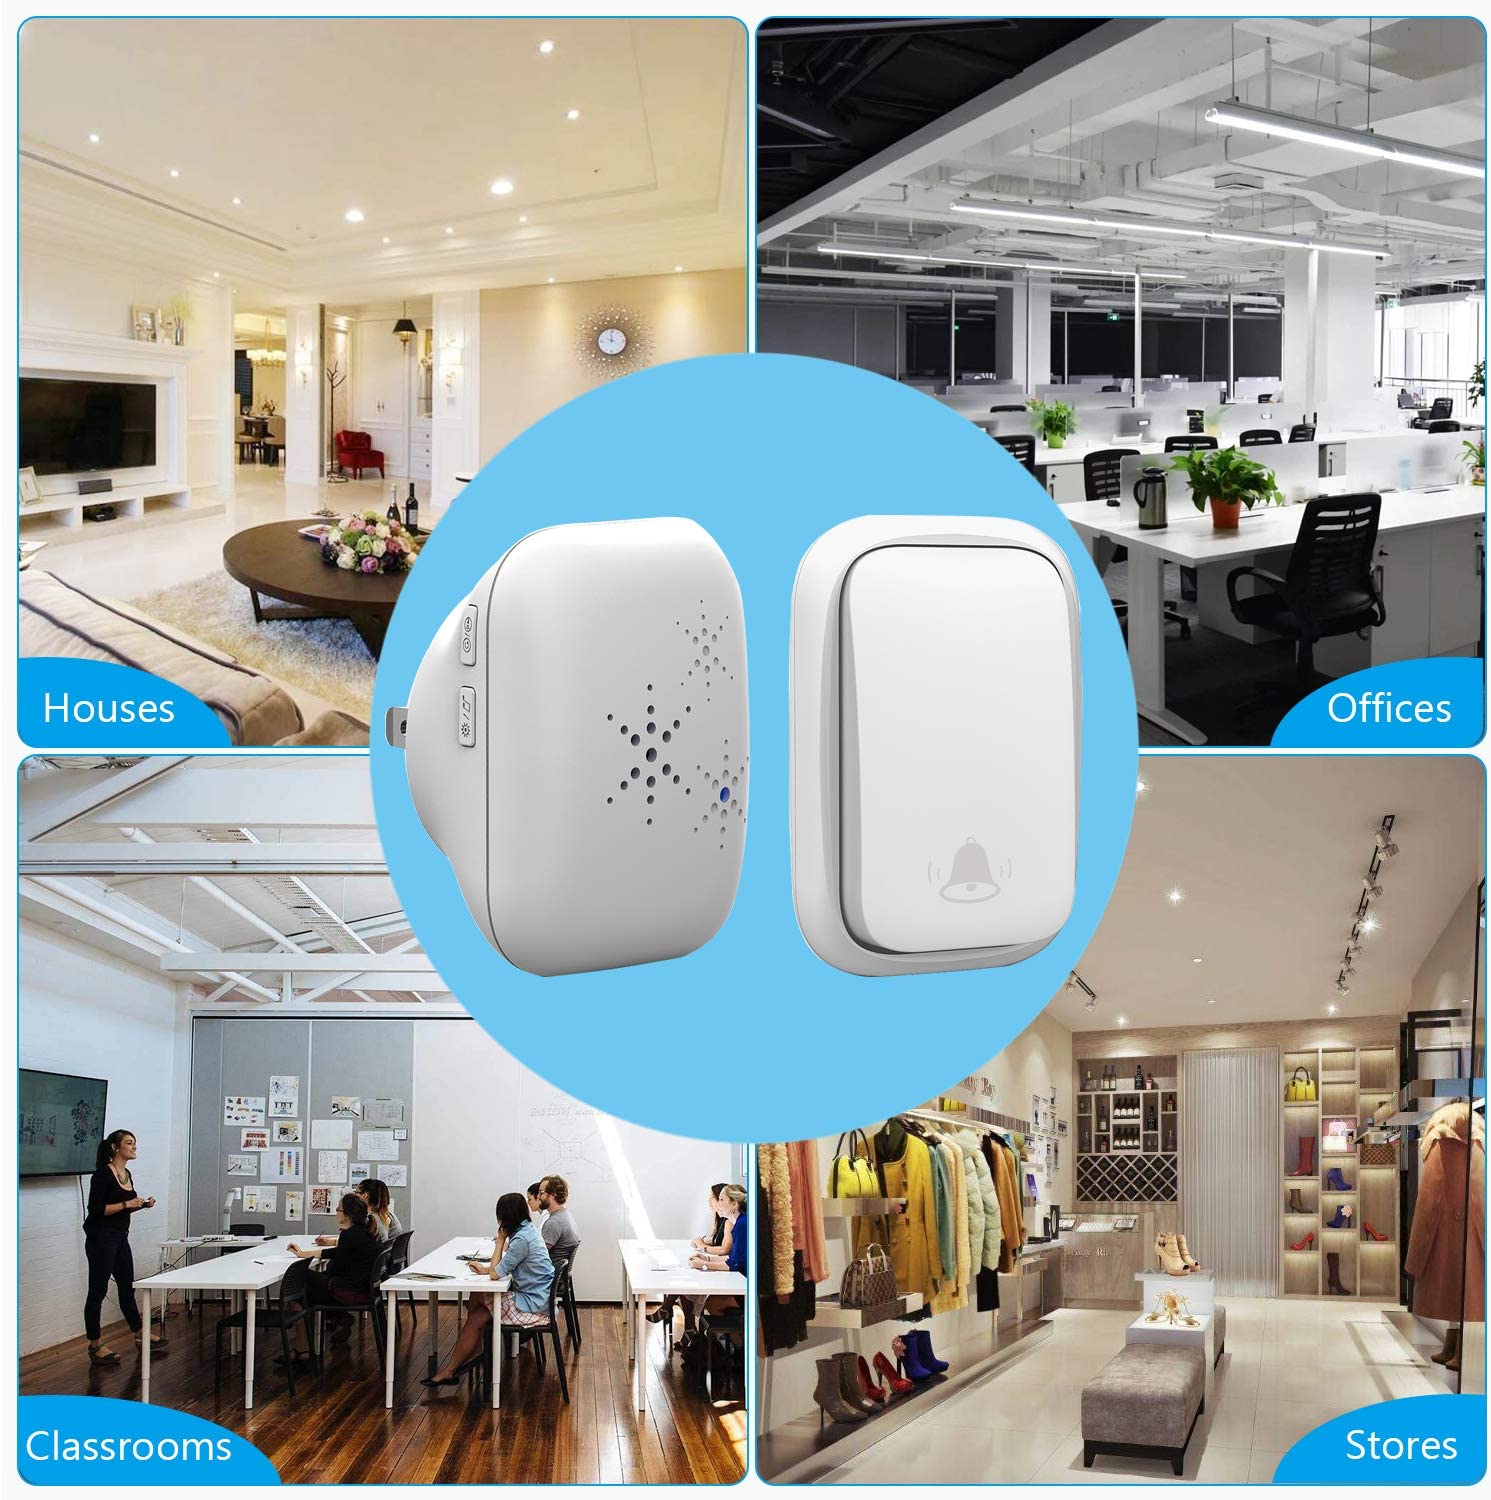
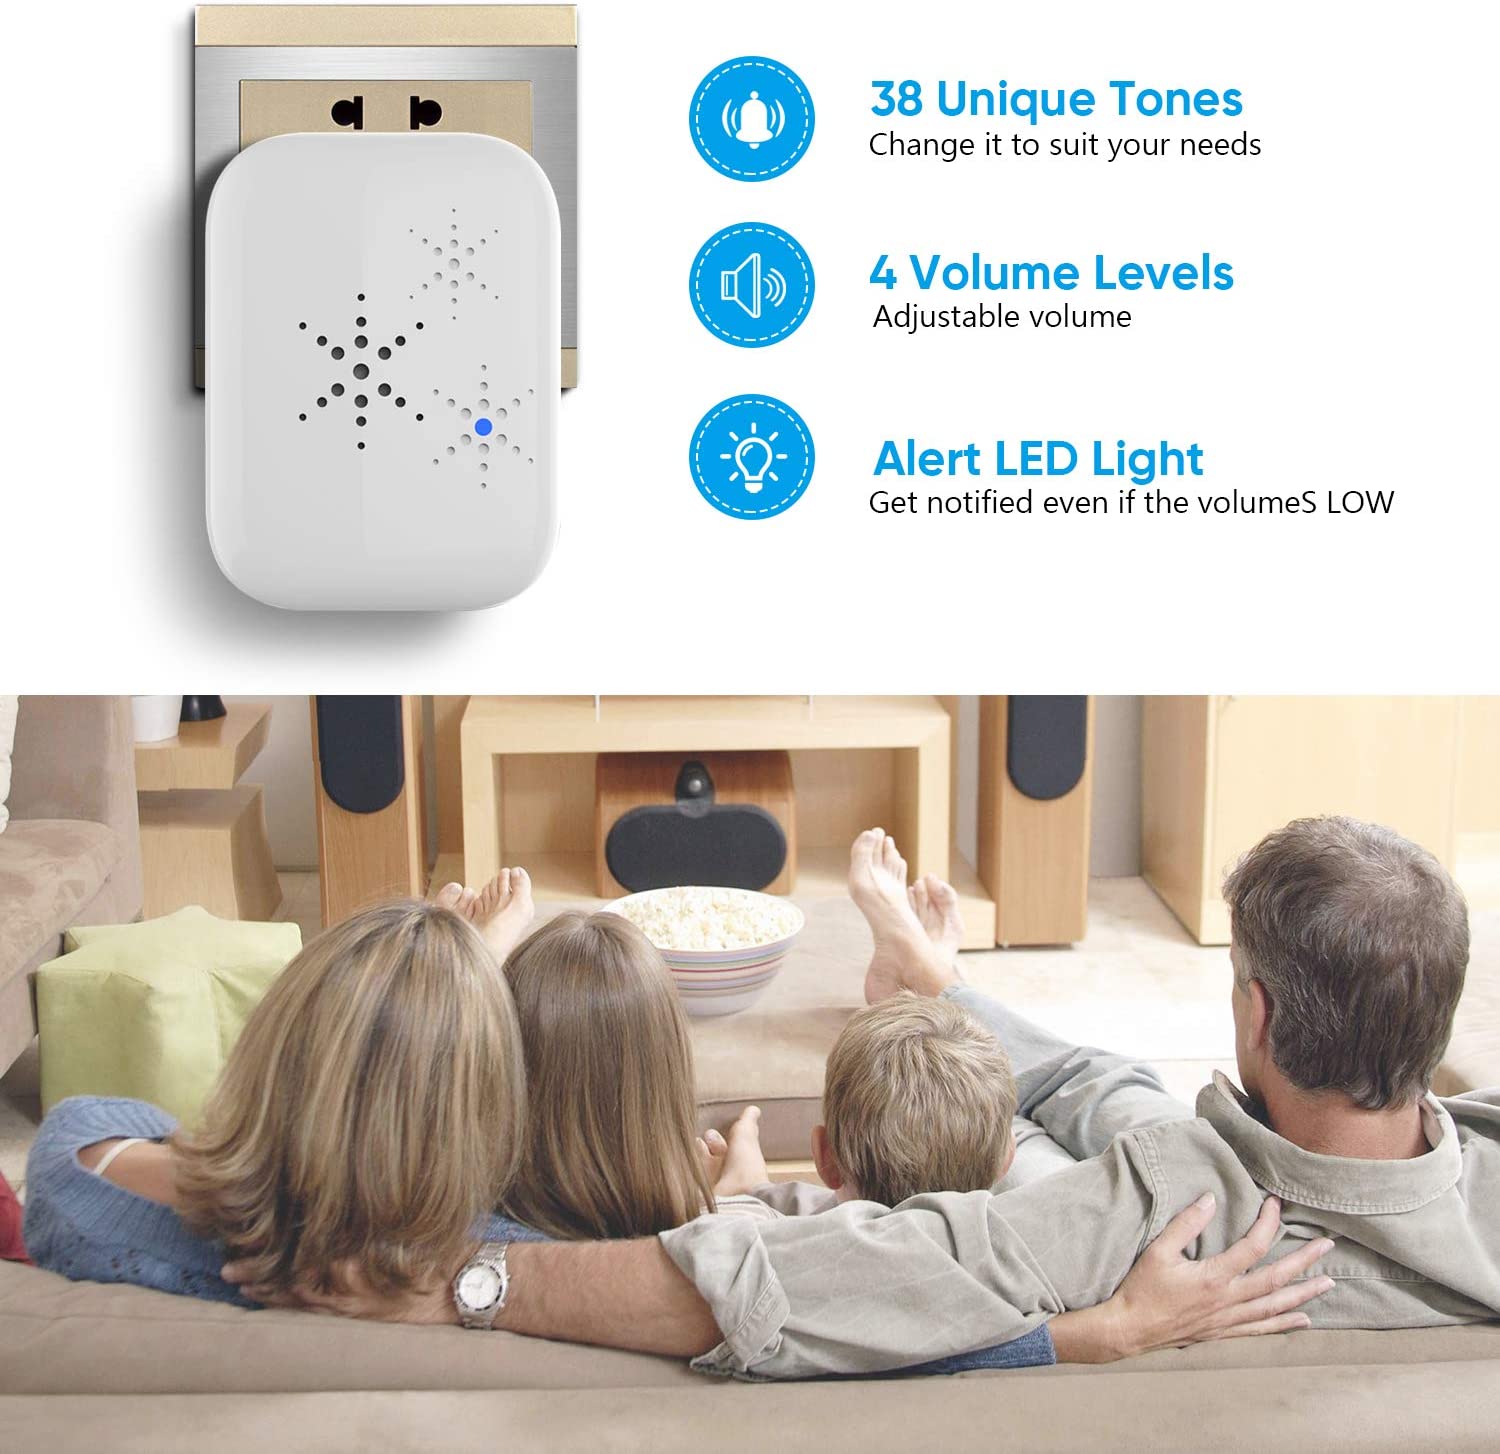
Kinetic No Battery Plug In Wireless Long Range no wiring Self-powered doorbell button
-
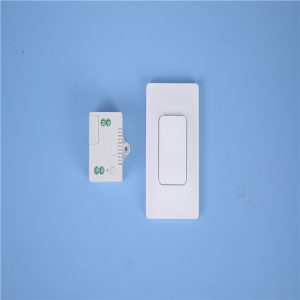
Self-Powered Kinetic Switch Wireless Remote Control Light Touch Switches, Smart Home RF 433 Remote Control Wall Switch
-
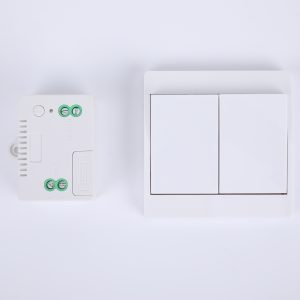
Smart Home Self-Powered Kinetic Switch Wireless Remote Control Electric Light Switch